


As the native language of Sri Lanka, Sinhala typesetting is crucial to any Sri Lankan. However, Sinhala language support had been minimal in most operating systems until recently. However, Sinhala support in Windows has improved considerably with Windows 10. However when it comes to Linux, even though the support is appreciatable, the typesetting in Sinhala is still a bit clunky. But even though the out-of-the-box experience for Sinhala is imperfect, we can still use external methods to easily set Sinhala language support perfectly. In this short article, we will discuss how.
Installing the Helakuru Sinhala Package
From my experience, the Helakuru package contains the best Sinhala support at the moment, and it's also straightforward to set up. Simply visit the link given here to download the Debian package. For other Linux packaging types, visit this link and choose your preferred distribution.
Extract the downloaded zip file and within this, you will find the Debian installer as 'helakuru.deb' or like.
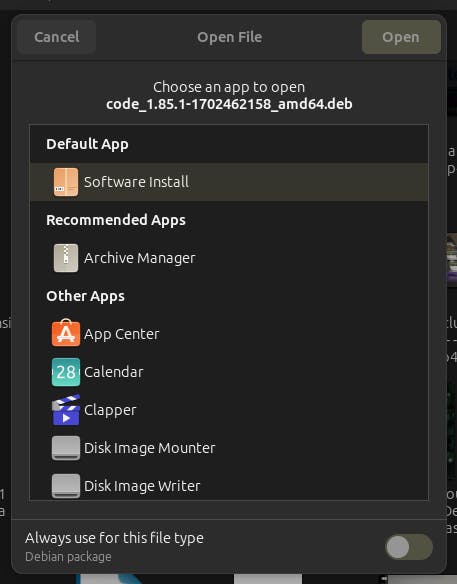
Now you can double-click this Debian package to open the software centre. If it doesn't open the package in the software centre, right-click and choose 'Open With...' Now choose 'Software Install' and click Open.
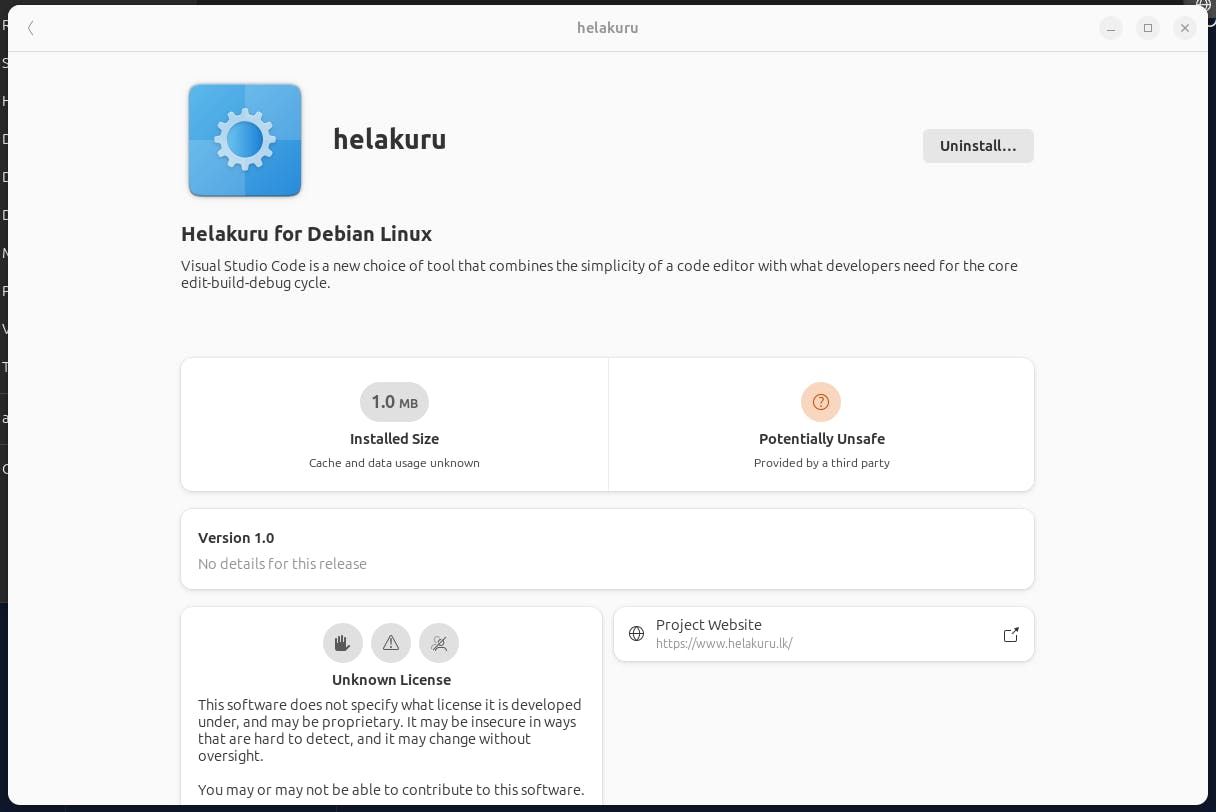
Click on Install and it will deploy Sinhala keyboard support on Linux.
Now log out of the device and log back in to activate the changes on the device. Now if you go into Settings > Keyboard > Input Sources > Add an Input Source (+ Sign), you will see Sinhala as an input method.

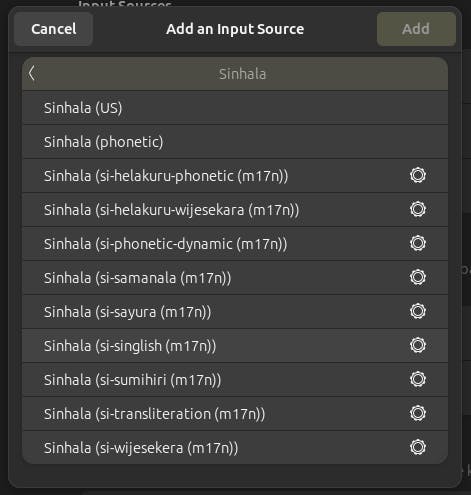
If you click on Sinhala, you will find multiple entries of Sinhala language installed.
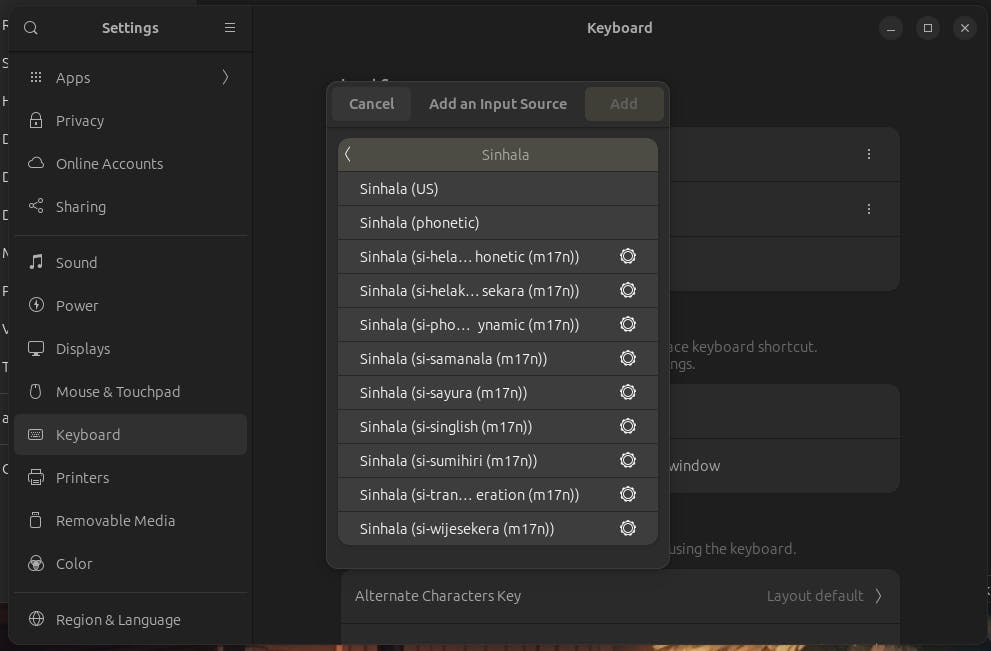
The most familiar options out of these would be Wijesekara (Sinhala (si-helakuru-wijesekara (m17n)) and Phonetic (Sinhala (si-helakuru-phonetic (m17n)). Clicking on either of these and clicking on Add will add these as an input language. Now if you click on the small language icon that appears on the command panel, you will find the selected language preferences appear.
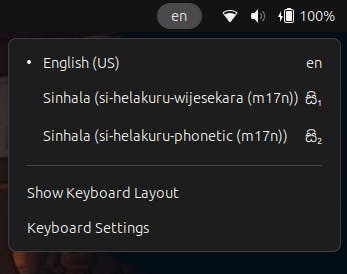
You can add, remove or change these keyboard layouts by clicking on Keyboard Settings in the above menu. Unfortunately, clicking on Show Keyboard Layout will only display the English (US) keyboard layout. However, in case you need to manually select characters from a menu, you can use the Character Map application. This is generally installed by default on major Linux distributions. If not, you can find it in your respective Application Store.
Launching this application and selecting Sinhala under Scripts, will allow you to select and copy any Sinhala character to your clipboard.
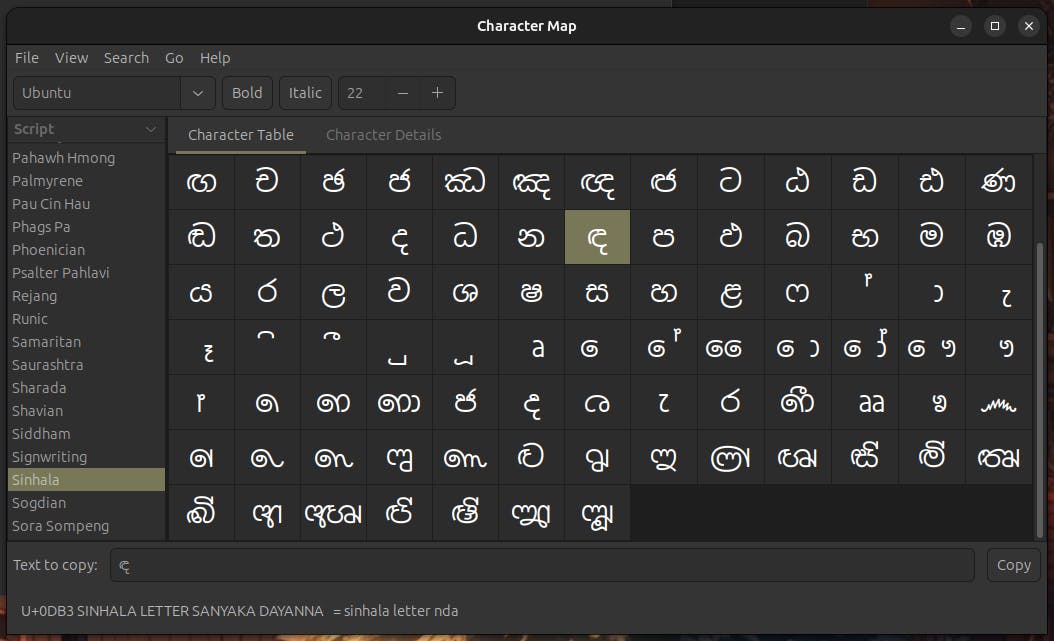
With this, you can type in Sinhala.
LK-SLUG Sinhala Language Pack
However, there exists another method to set up Sinhala language support used in the past. This is the LK-SLUG language pack. This comes with fonts as well as the keyboard layout. However in my experience, for modern Ubuntu systems, this method is not that applicable. The layout is a bit different from the modern Sinhala layouts we find today such as Singlish, Phonetic and Wijesekara. But if required, this option is also available.
To install the LK-SLUG Sinhala language pack, enter the following command in the terminal.
sudo apt-get install fonts-lklug-sinhala ibus im-switch ibus-m17n m17n-db m17n-contrib language-pack-si-base
Enter your password if prompted and press enter. Once installed, you can log out; log back in and go to settings as we discussed before. If all goes well, you will see similar layouts under Add an Input Source including a few more options.
This will conclude the Sinhala language setup in modern Ubuntu systems. සිංහල භාෂාව සමඟ ඉදිරියට ලේඛන කරන ඔබට සුභ දවසක්.